I promised a tutorial for my scrappy dog bed months ago and I know a bunch of you have been landing on my blog searching for just that. It’s here, finally!!
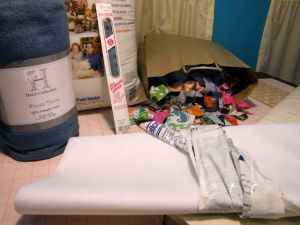
Here’s what you need for a large size dog bed:
- A bag full of your small scraps
- 50″ x 60″ fleece blanket, this was less expensive for me than purchasing fleece yardage. (If your doggy sheds like mine, choose a color similar to her fur color!)
- Heavyweight iron-on interfacing
- Muslin or other inexpensive fabric for the lining. Two 29″ x 39″ rectangles and one strip 3.5″ x 139″
- Stuffing, I used Polyfil, two 32oz bags and one 12oz bag
- 22+” zipper
- The usual sewing supplies
Step 1: Cut your interfacing into 3.5″ strips.
The size and amount of scraps you use will determine how many strips you will need. You will need at least 139 inches. So cut a few strips to get yourself started, you can cut more as you go.
Step 2: Cut your scraps.
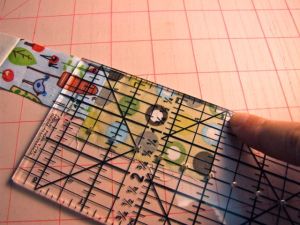
Pull out any scraps that are at least 1″ x 3.5″. All scraps will be cut to 3.5″ in height. I cut mine to range from 1″ to 3.5″ in width.
You will want to cut a variety of widths for a scrappier look. (For a more uniform look, cut all scraps to the same size.)
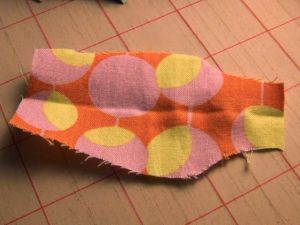
Use all of your weirdly shaped scraps. Like the bits that have been cut off when squaring up your blocks:
Cut to 3.5 inches (height)
Straighten up the sides, just make sure it’s at least 1 inch wide.
I hate throwing out even the tiniest scraps so I have a lot of tiny weirdly shaped bits. This is a great project to utilize those!
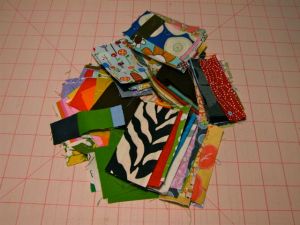
You will need a ton of these little rectangles. So keep cutting! This is the most time consuming step.
Step 3: Once you have your huge pile of rectangles, throw them into a bag and shake ’em up. Shake, shake! You want them to be all mixed up.
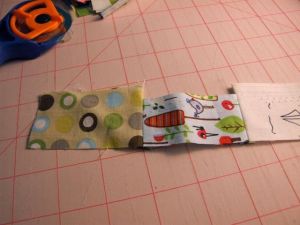
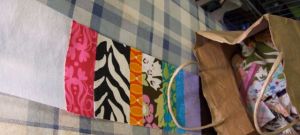
Step 4: Lay out your iron-on interfacing on your ironing board. *Shiny side up.* Take your shaken, not stirred bag of trimmed scraps and pull one out at a time. Lay the each scrap *right-side up* on the interfacing, butted up against each other.
**Remember** You have amazing taste in fabric, all of your scraps will look great together! Fight the urge to pick and choose what comes next. Try to stick your hand in the bag, no looking and just pull ’em out.
The only time you should rearrange is if you pull two of the same fabrics in a row or you are pulling a bunch of the same width fabrics in a row. To keep my fabrics more random I like to shake up my bag every so often.
Once you have a bunch of fabrics layed out on your interfacing, iron them down according to the directions that came with your interfacing, and move on to the next section. Continue until the entire strip of interfacing is covered with fabric.
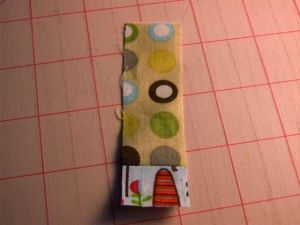
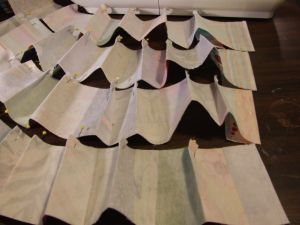
Step 4: Fold your strips right-sides together where each of the fabrics meet.
Finger press.
I like to pin just one side to make sure things don’t get wonky.
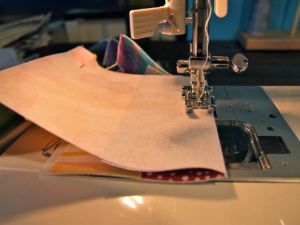
Sew using 1/4″ seam allowance down each fold.
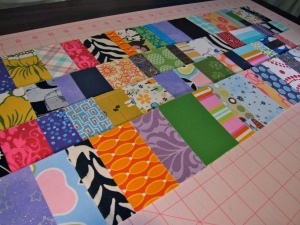
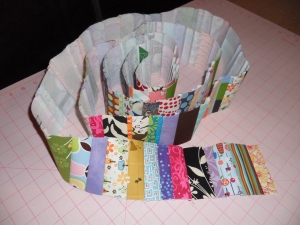
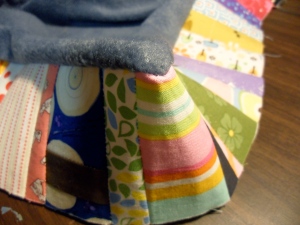
Then sew all of your strips together to make one really long strip measuring, 3.5″ x 139″.
Press all of your seams the same direction.
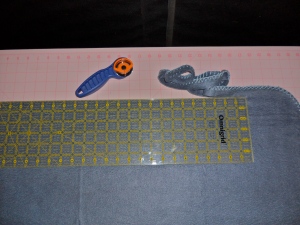
Step 5: Cut your fleece blanket.
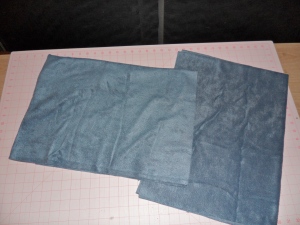
Make sure you plan before cutting! You will need two rectangles roughly 29″ x 39″.
Trim off the finished edges of the blanket first. Then cut the fleece in half so you have two pieces that are about 29 inches by 40-something.
Cut your two pieces to 39 inches wide.
Now you have to raw-edge fleece rectangles 29″ x 39″.
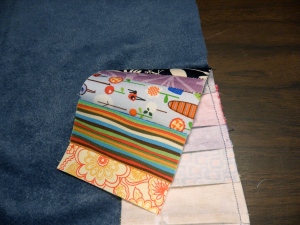
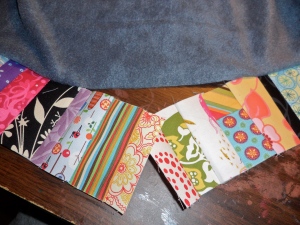
Step 6: Sew your scrappy strip to your fleece rectangle. Leaving a tail of a few inches, sew right-sides together using 1/4″ seam allowances.
When you get to a corner, ease the strip around the corner, cutting a couple of 1/8″ long slits will help ease the strip around the corner better. *You don’t have to do that, I didn’t. It will make turning the corners easier for you though.*
A few inches before you meet your tail, measure your strip so when you sew the two ends together it will lay flat. Then sew the two ends together & finish attaching the strip to the fleece.
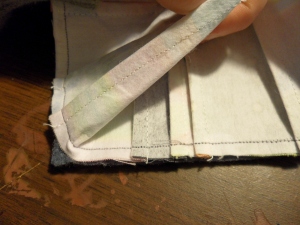
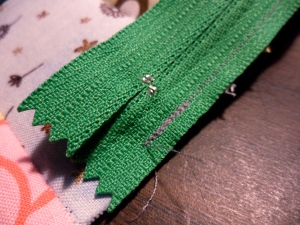
Step 7: Find the center of one of the short sides of the rectangle with the scrappy strip. Find the center of your zipper. Pin your zipper to the scrappy strip, lining up the centers.
Sew the zipper to the scrappy strip using 1/8″ seam allowance, leaving 1/4″ to 1/2″ on each end of the zipper. Stay stitch at both ends.
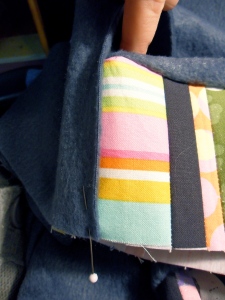
Step 8: Line up the corners of the second fleece rectangle with the corners of the fleece rectangle with the scrappy strip attached, right-sides together.
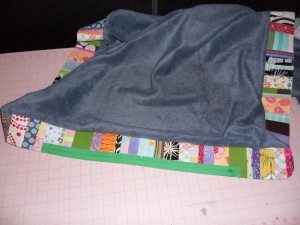
Sew the second fleece rectangle the same way you attached the first. Make sure your zipper is open, or you won’t be able to turn your bed right-side out!
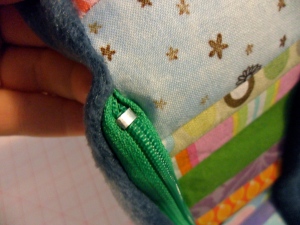
When you get to the zipper, tuck the ends of the zipper into the seam allowance and continue sewing along the zipper, tucking the ends in again when you get to the other end of the zipper.
Turn your bed right-side out and poke out the corners. You can clip the corners to make them sharper. If you don’t they will be slightly round, which I think is nice with a big puffy bed.
Step 9: Make the lining. Sew your strip of muslin to your two rectangles as you did the fleece and the scrappy strip, leaving a hole about 20″ or so for stuffing.
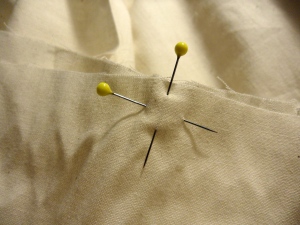
I like to pin an X to indicate where to stop sewing so I don’t go nuts and close up the hole by accident.
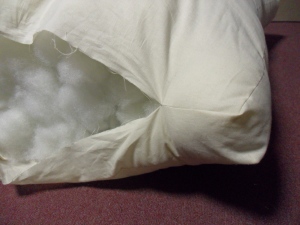
Step 10: Stuff the lining with your fiberfill. I like to insert the lining into the bed while I stuff because this is going to make a super puffy bed and with all of the stuffing it will be hard to get the lining into the bed. Make sure you push the stuffing into the corners well.
It will seem like you have too much stuffing for the bed but you will need it all. Once your pup sleeps on the bed a few nights it will pack down and be just right.
Step 11: Close up the lining. You can whip stitch the hole closed for a more finished look or you can do a little crazy gorilla sewing and do it by machine.
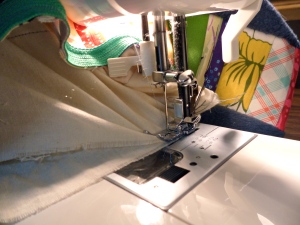
Here’s how: Wrestle your bed up to your sewing machine with the two layers of muslin under your presser foot, needle down. Then sew the hole closed, stay stitching at each end.
You will have to wrestle that top layer of muslin to lay down on top of the bottom layer, it will be hard work but it should take you less time than stitching by hand. I figure it’s on the inside, no one will see, it doesn’t have to be pretty.
Step 12: Zip up and let your super cute puppies have a field day!
Your dog will love this bed, it’s so soft and squishy and it was made with love!
My dogs race to be the first one to bed so they can have the scrappy dog bed, nobody wants the store-bought one anymore. One of these days I will get around to replacing that last store-bought bed with another scrappy dog bed.
Another option is adding piping, that really makes the bed look fancy-schmancy. You could also use a strip of just one fabric instead of scraps.
Friends of mine just brought home a puppy this past weekend & I made them a bed with one fabric and piping. It looked really great. Of course I didn’t take a photo! Maybe they will send me one.
Let me know if you make one of these, I’d love to see photos of them in action!
If you have questions or I wasn’t clear about something leave me a comment or an e-mail.
I will have pre-cut kits available in my shop for anyone who wants to save a ton of time trimming scraps. I don’t have any currently listed but I do have the supplies ready to go. If you’d like one email me & I’ll set up a listing for you! The kits will include the pre-cut fleece, muslin and scraps, as well as the zipper, piping and iron on interfacing. They will not include the stuffing to keep shipping costs down.
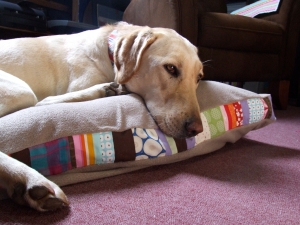
Awesome idea to add the colorful strip to the boxing- I’ll have to try that on my next dog bed! I stuffed mine with scraps of fleece, batting and foam so as to use them up responsibly. Great uses for scraps inside and out!
Maddie loves her doggy bed!!!
Thank you so much for this tut – in particular the explanation of the zipper!
What a great technique for using up the scraps! Thanks for sharing this lovely project!
This is beautiful! Thank you so much for sharing.
I just purchased a soft fleece bed for our cats. At half price, it would have cost more to get the supplies, which I didn’t already have, than to make it. What I did make was a pillowcase/cover for it, from scrap fun fur fabric. It is extra cozy for them, and easier to wash for me. To contain their shedded fur, I use washable covers on everything possible in my house.
Thanks for the tutorial! I just made one for my kitties with it. The instructions were super easy to follow and I love the finished project. My cats do, too 🙂
http://daisysewing.wordpress.com/2010/11/23/new-cat-bed/
Thanks so much for the tutorial. I am learning to sew, and this was a lot of fun. I made it for my roommate’s dog. She loves it. 🙂
Super cute, I love scrappy stuff! 🙂
jamie @ sewrockin.com
How much is ur kit
You inspired me to learn how to sew and it came out great!! Thank you for the detailed easy to follow directions. This is the cutest dog bed idea ever
I don’t sew enough to have scraps, but this design worked perfectly when I decided to tackle making an over-sized bed for our great dane Xena. Thank you so much for this tutorial!!! Xena loves her new bed.
I am a 13 year old and I did this with my friend in our Skills for Living class. This is very manageable for an intermediate skilled sewer and it’s adorable! My dog loves this bed so much and I love how the scraps look against an off white fleace bed! Thank you so much! Btw we got a 100% on our project(:
Thanks for sharing
Great idea to use a fleece blanket for the top and the bottom. I’m going to stuff it with the garbage bag full of polar fleece scraps I have. (Crazy, right?!)